Disclaimer: This is literally my first time ever planting trees! However, I did have guidance from my father who has planted many trees in his day.
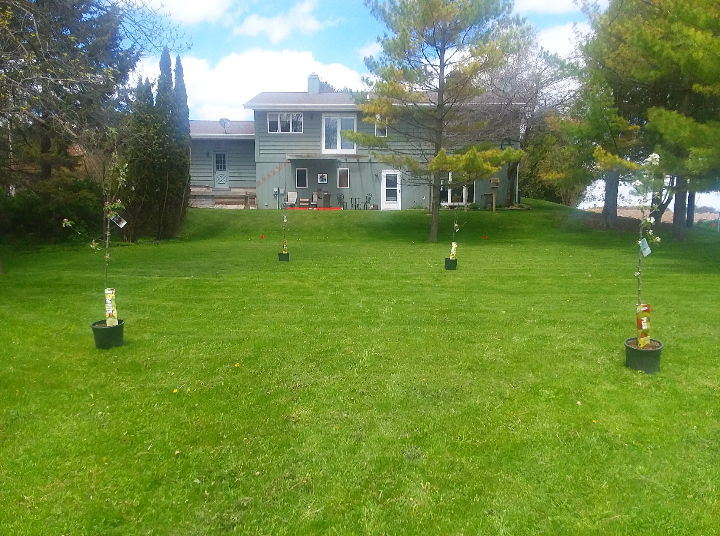
What we’re planting:
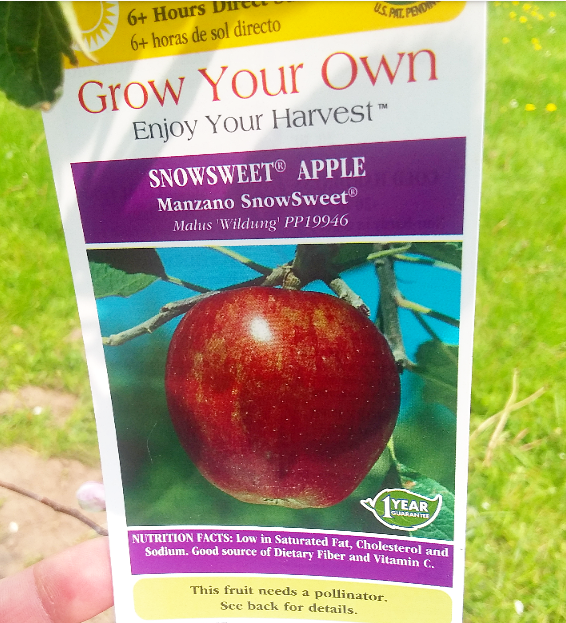
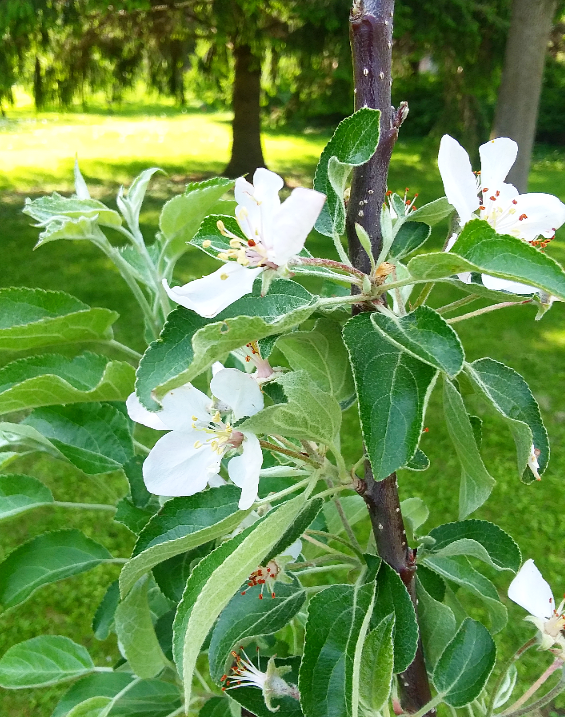
- 1 Snowsweet Apple Tree
- 1 Haralson Apple Tree
- 1 Summercrisp Pear Tree
- 1 Luscious Pear Tree
Other supplies needed:
- Post Hole Digger (preferably)
- Shovel (if you don’t have a post hole digger)
- Rake
- Peat Moss
- Tape Measure (optional)
- Tree Guards (optional)
***Several days before you begin, call your local digger hotline (mine is #811). They will contact all the appropriate companies who will go to your home and mark off where the power lines, gas lines, etc. are located. This way you’ll know where not to dig. It’s free, so there’s really no reason not to play it safe.***
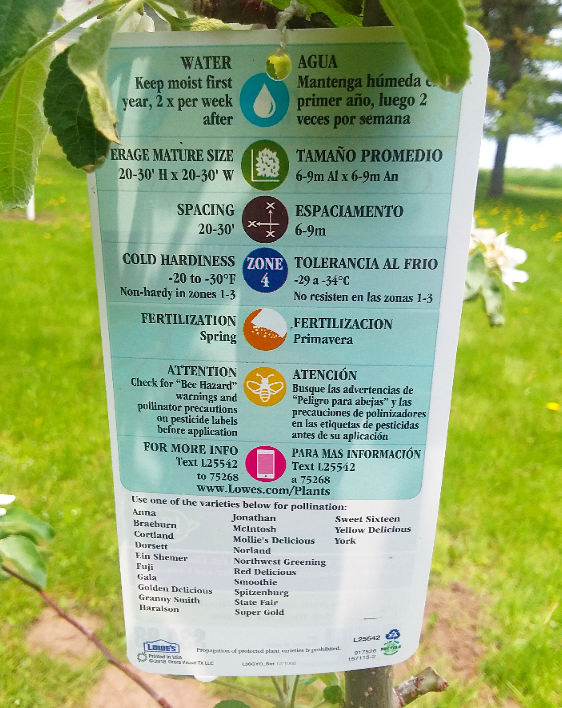
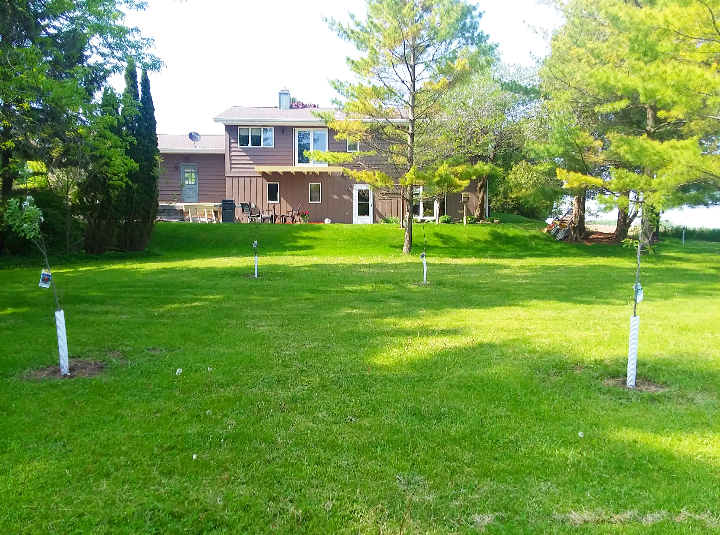
Step 1: Map out where you’re going to put your trees. There should be information provided on the card that comes with the tree dictating how much space it needs. I didn’t use a tape measure for this because I have a lot of space to work with, but by all means if you’re uncertain about how much space you have, use one.
Step 2: Mark where you’re going to dig. We used a trimmer to mark a circle in the grass. You could use spray paint or whatever method you want. The important thing is you know how wide to dig, which should be about 2-3 times bigger than your container.
Step 3: Start digging with your post hole digger or shovel. I marked out the full width of the hole I needed, then worked on depth. You want the little notch on the tree to be even with the ground. When you think you’re getting close, put the tree in the hole to see if you’re as deep as you need to be.
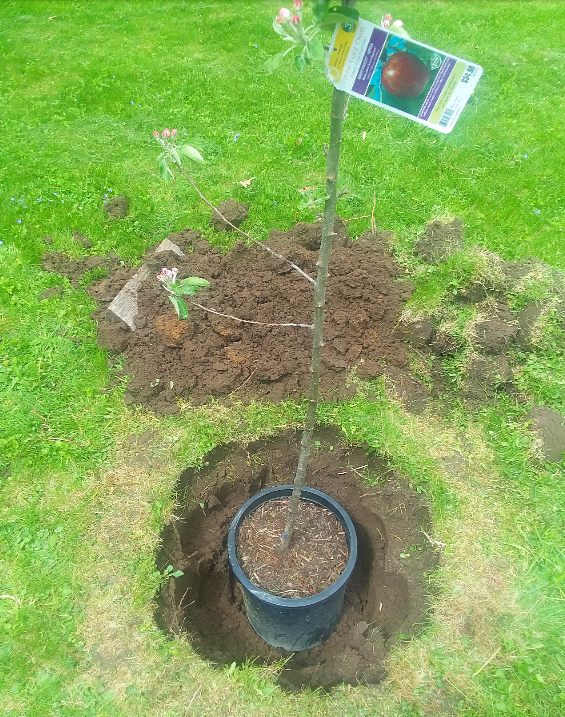
Step 4: Add your peat moss to the bottom of the hole. This will provide a cushion for your tree roots.
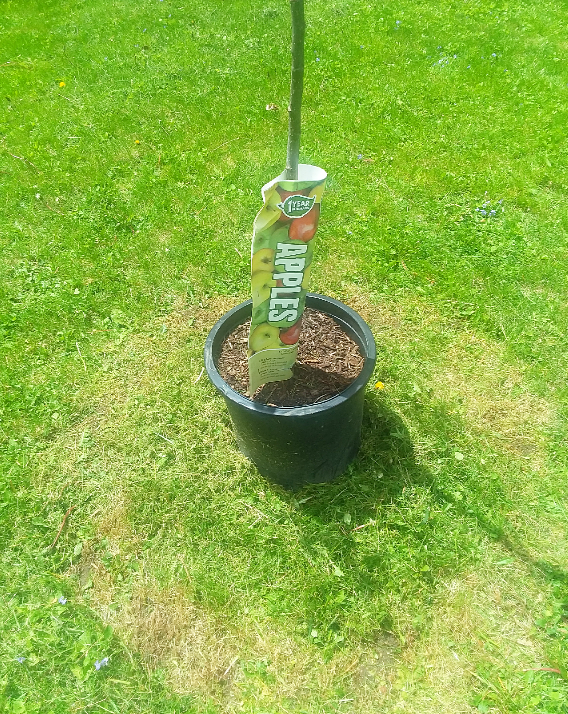
Step 5: Take your tree out of the bucket. To pry it loose, I laid it on it’s side being careful to not squish any branches. I applied pressure to the bucket with my foot and rolled it slightly side to side. When I put it upright I was able to pull the tree out.
Step 6: Put the tree in the hole. Take a step back and view it from different angles. Push the moss into place so the tree stands up as straight as possible.
Step 7: Start piling the soil back into the hole. I found using the rake to be most helpful when I was trying to pull in the last bits of soil that had settled into the surrounding grass. Take the handle of your rake and start pushing down the soil along the outer edges of the hole. The purpose of this is to compact the soil around the edges to help hold the tree in place. You don’t want to get too close to the tree itself because you could force it out of position. Shake loose any extra soil attached to the chunks of grass you dug up earlier to add to the pile.
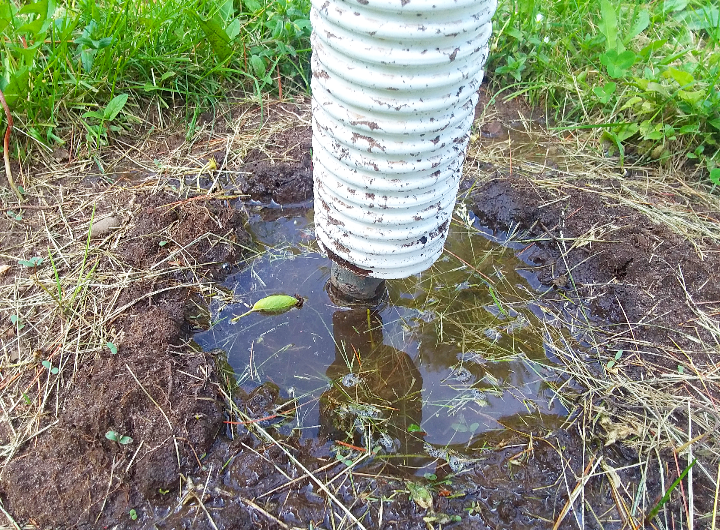
Step 8: Once all the soil is pushed together you want to create a well around the trunk of the tree. You want the notch just exposed with soil built up around it. You’re going to be watering it next and this will make sure water is getting down to the roots. Pour the water into the well. I added a good bucket of water.
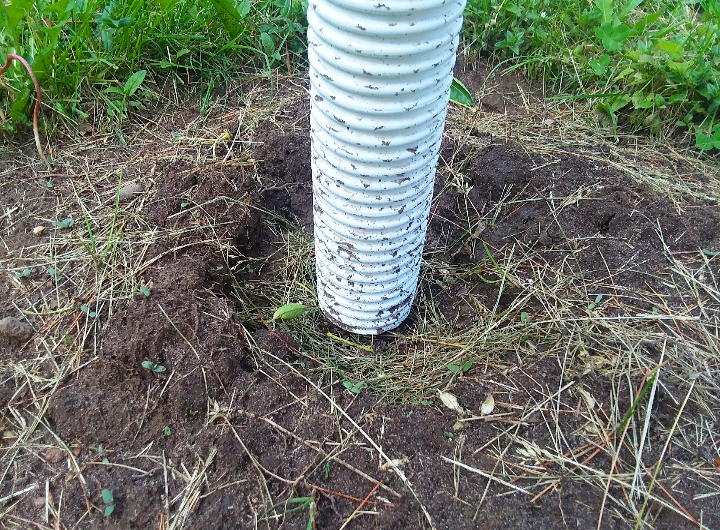
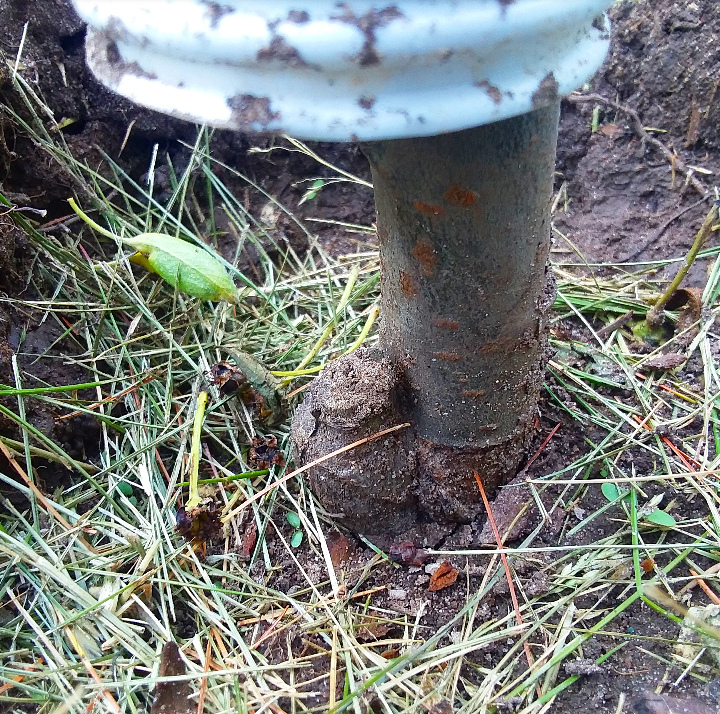
Step 9: Apply the tree guards around the trunks. These will help protect your trees when you have to trim the grass around them.
***If you have a tree that has a crooked trunk you can purchase stakes and tie off the tree so it will straighten out. It’s a good idea to allow the roots to set before doing this however, so you’ll want to wait a good week after planting them before doing that.***
Since I’ve started eating a plant-based diet the amount of fruits and vegetables I’m eating has increased significantly. I’m really excited to grow more and more of my own food. This is only the beginning.

If you can mark where you’re wanting to dig with white chalk, or white tape or white “something”, the 811 folks will know where you’re wanting to dig and they won’t have to mark up so much of the yard with the “pretty colors”.
Also ask them to NOT use “offset marking” but instead to mark directly over the buried stuff.
LikeLiked by 1 person
Oh, that’s smart! I was lucky, I only had one thing in my backyard to worry about and it was in the way back. I expected spray paint too, so I was pleasantly surprised to see it was just flags. 😊
LikeLike
If you are curious about what’s back there, look up “APWA color code”.
LikeLike